April 28, 2026
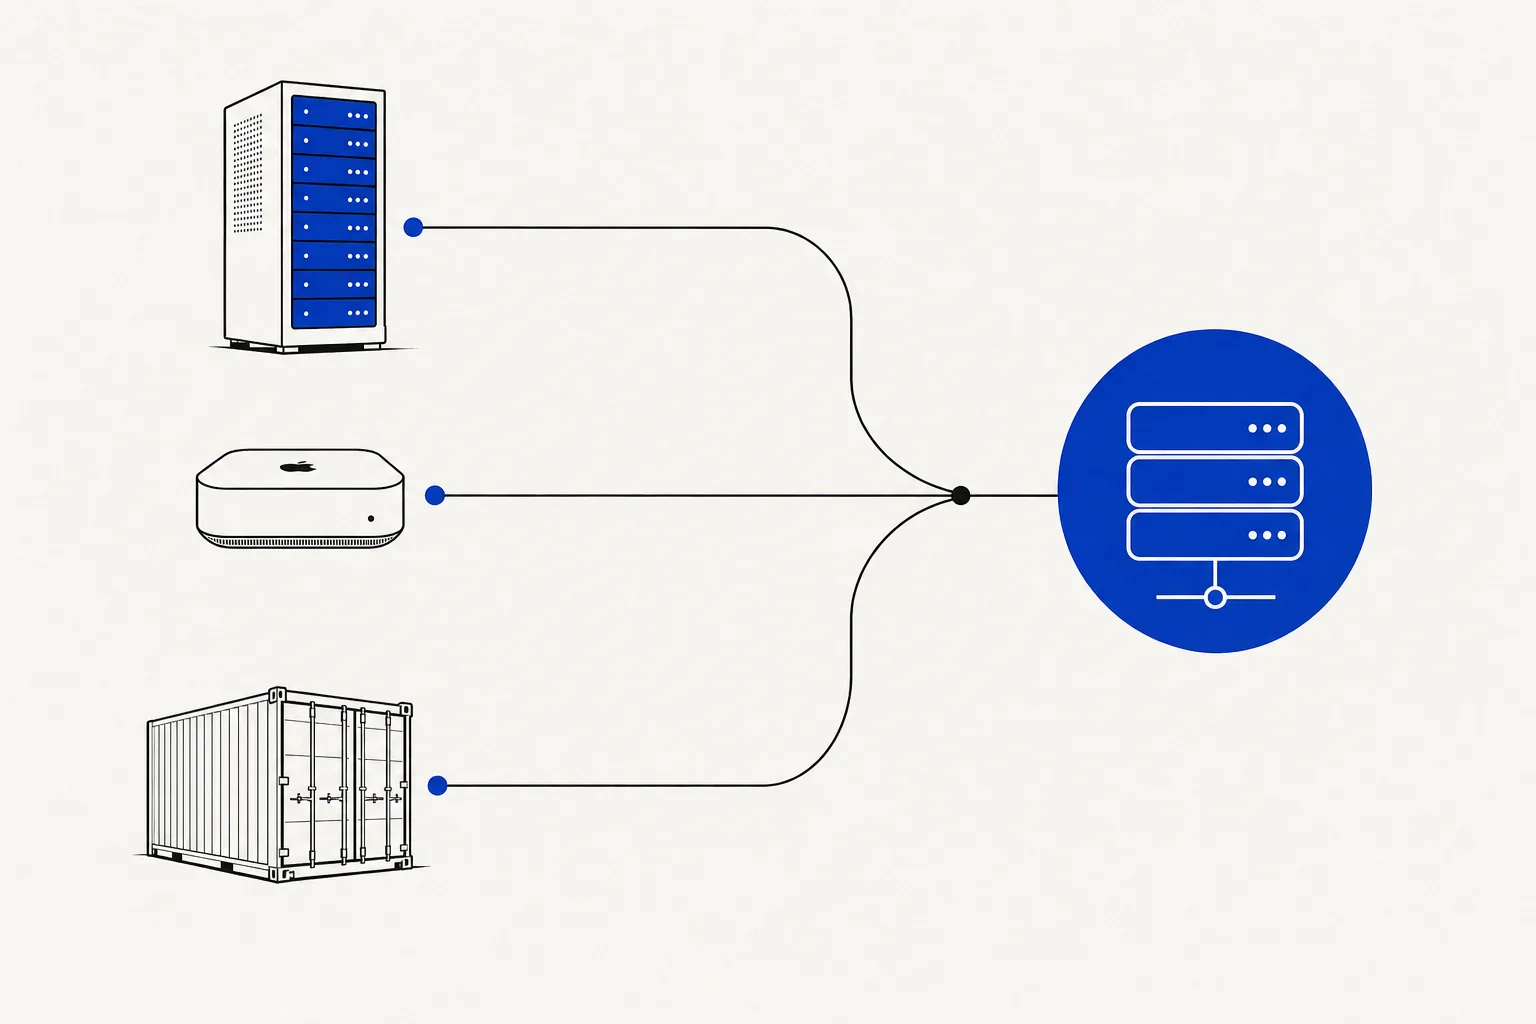
OpenClaw setup guide (2026): VPS, Mac mini, Docker
A complete OpenClaw setup walkthrough — VPS, Mac mini, and Docker — with the gotchas I hit in two years of running it in production.
TL;DR
- OpenClaw install takes 20–40 minutes on any path; VPS is the most forgiving entry point.
- Hostinger KVM2 ($4.49/mo) handles solo workloads; Hetzner CX22 ($4.50/mo) is my default for teams.
- Mac mini M2/M3/M4 beats every VPS on price-performance if you already own one.
- Docker is fastest to redeploy but requires extra
--cap-addflags — skip the docs and you’ll hit a wall. - Pin your OpenClaw version. Auto-updates have broken me twice.
Pick your install path
| Path | Right for | Avoid if | Best price |
|---|---|---|---|
| VPS | Always-on, teams, no hardware budget | GPU workloads, sub-50ms latency | Hetzner CX22 ~$4.50/mo |
| Mac mini | Solo operators, already own Apple Silicon | 24/7 enterprise uptime SLA | ~$600 one-time (M2, 16 GB) |
| Docker | Container platform already in place | You’ve never touched Docker networking | Free if you have the host |
Not sure? VPS. The cheapest mistake you can make is picking the wrong path and losing a weekend.
Path 1: OpenClaw install on a VPS (Hostinger / Hetzner / DO / OVH)
The right call for 80% of teams. OpenClaw installation on a VPS is the most documented path, and picking a vps for openclaw is the easiest way to keep the instance always-on without owning hardware. I’ve run this on Hostinger and Hetzner in production — both work fine. Hetzner edges out Hostinger on raw performance per dollar; Hostinger wins on support responsiveness if you’re less comfortable in the terminal.
Hardware
| Use case | vCPU | RAM | Disk |
|---|---|---|---|
| Solo, light agents | 2 | 4 GB | 40 GB SSD |
| Team, 2–5 active agents | 4 | 8 GB | 80 GB SSD |
| Heavy, multi-long-context agents | 8 | 16 GB | 160 GB SSD |
OpenClaw itself is lean. RAM spikes come from the agents it runs. Provision for agents, not the server process.
How to install OpenClaw on a VPS
- Provision Ubuntu 24.04 LTS or Debian 12. SSH key auth only — disable password login immediately.
- Install
ufw, allow ports 22 and 443, deny everything else. - Create a dedicated
openclawsystem user. Never run this as root. - Install Node.js 22 LTS via NodeSource:
curl -fsSL https://deb.nodesource.com/setup_22.x | sudo -E bash - && sudo apt-get install -y nodejs. - Run the official OpenClaw installer — a single curl command from the docs that pulls the binary and drops a sample systemd unit.
- Run
openclaw setupto configure API keys (Anthropic + any providers you use), default model, and storage path. - Install Caddy for the reverse proxy: handles SSL termination automatically, zero cert management.
- Enable and start the systemd service:
sudo systemctl enable --now openclaw. - From your laptop, SSH-tunnel the OpenClaw port and hit
/healthto confirm.
# /etc/systemd/system/openclaw.service
[Unit]
Description=OpenClaw
After=network.target

[Service]
Type=simple
User=openclaw
ExecStart=/usr/local/bin/openclaw start
Restart=on-failure
RestartSec=5
MemoryMax=8G
LimitNOFILE=65536

[Install]
WantedBy=multi-user.target
VPS gotchas
MemoryMax=8Gin the unit file is non-optional. A runaway agent will OOM-kill the host without it. I learned this at 3am.- Never expose raw HTTP. OpenClaw must sit behind HTTPS. No exceptions. See is OpenClaw safe for the full threat model.
- Back up nightly. Skill manifests, agent state, custom-built OpenClaw skills — all live in the storage directory. I use
rcloneto Backblaze B2: ~$0.50/month. - Pin the version. Set
OPENCLAW_VERSION=x.y.zin your env and update manually after reading the changelog. hostinger openclawsearch traffic is real — meaning others have hit the same setup friction. The most common failure point on Hostinger is the default firewall blocking outbound calls from theopenclawuser. Runsudo ufw statusand confirm outbound is not restricted.
Path 2: OpenClaw on a Mac mini
The openclaw mac mini setup is my personal daily driver. A Mac mini M4 (16 GB) costs ~$600 one-time — that’s 11 months of a Hetzner CX42 at $55/mo. Apple Silicon is efficiency-dense; you can run four concurrent long-context agents with the fan barely audible.
Local-disk I/O is also meaningfully faster than network storage on most VPS tiers, which matters if your agents read or write large files frequently.
Hardware notes
| Model | RAM | Verdict |
|---|---|---|
| M2, 8 GB | 8 GB | Light solo use only; swap hits fast with 2+ agents |
| M2/M3, 16 GB | 16 GB | Sweet spot for most setups |
| M4, 24–32 GB | 24–32 GB | Run as many agents as you want |
How to install OpenClaw on a Mac mini
- Install Homebrew if it’s not there:
/bin/bash -c "$(curl -fsSL https://raw.githubusercontent.com/Homebrew/install/HEAD/install.sh)". - Install Node.js 22:
brew install node@22 && brew link node@22. - Run the official OpenClaw installer script (same as VPS path, macOS binary variant).
- Run
openclaw setup— same API key and storage configuration flow. - Create a launchd plist to keep it running after reboots.
- In System Settings → Energy: disable “Put hard disks to sleep when possible” and enable “Prevent automatic sleeping when the display is off”.
- Install Tailscale for remote access — free for personal use, no port-forwarding required.
<!-- ~/Library/LaunchAgents/com.openclaw.daemon.plist -->
<?xml version="1.0" encoding="UTF-8"?>
<!DOCTYPE plist PUBLIC "-//Apple//DTD PLIST 1.0//EN"
  "http://www.apple.com/DTDs/PropertyList-1.0.dtd">
<plist version="1.0">
<dict>
  <key>Label</key>
  <string>com.openclaw.daemon</string>
  <key>ProgramArguments</key>
  <array>
    <string>/usr/local/bin/openclaw</string>
    <string>start</string>
  </array>
  <key>KeepAlive</key>
  <true/>
  <key>RunAtLoad</key>
  <true/>
  <key>StandardOutPath</key>
  <string>/tmp/openclaw.log</string>
  <key>StandardErrorPath</key>
  <string>/tmp/openclaw.err</string>
</dict>
</plist>
Load it: launchctl load ~/Library/LaunchAgents/com.openclaw.daemon.plist
Mac mini gotchas
- Thermal throttling under sustained load is real. A small USB fan pointed at the bottom of the mini drops sustained temps by ~10°C and prevents the throttle. Not a joke.
- Tailscale over port-forwarding, always. Opening your home router to the public internet for OpenClaw access is a bad trade.
- Major macOS updates break launchd plists and Homebrew paths. Read the OpenClaw release notes before every macOS major version upgrade.
- Check is OpenClaw safe before exposing it beyond localhost — the same advice applies here as on VPS.
Path 3: OpenClaw Docker
If your team runs Traefik or another container platform, OpenClaw Docker fits natively. More setup friction up front; easiest long-term for redeployment and environment parity.
How to install OpenClaw via Docker
- Pull the official image:
docker pull openclaw/openclaw:latest(pin to a digest in production). - Create the compose file below.
- Create a
.envfile with your API keys — never bake them into the image. - Start:
docker compose up -d. - Tail logs:
docker compose logs -f openclaw. - Wire your existing ingress (Traefik, Nginx, cloud LB) to port 3000 with SSL termination. Never raw HTTP.
# docker-compose.yml
version: "3.9"

services:
  openclaw:
    image: openclaw/openclaw:1.14.2   # pin the version
    restart: unless-stopped
    env_file: .env
    ports:
      - "127.0.0.1:3000:3000"         # localhost only; ingress handles TLS
    volumes:
      - openclaw_data:/app/data
      - openclaw_config:/app/config
    mem_limit: 8g
    cpus: 4
    cap_add:
      - SYS_PTRACE                    # required for agent subprocess forking
    security_opt:
      - no-new-privileges:true

volumes:
  openclaw_data:
  openclaw_config:
# .env (never commit this)
ANTHROPIC_API_KEY=sk-ant-...
OPENCLAW_STORAGE_PATH=/app/data
OPENCLAW_CONFIG_PATH=/app/config
OPENCLAW_LOG_LEVEL=infoDocker gotchas
- Volume mounts are not optional. No persistent volume means every restart wipes your skills, agent state, and config. Snapshot the volumes nightly.
SYS_PTRACEor--privilegedis required for agent subprocess forking. The minimal safe choice iscap_add: SYS_PTRACE— not--privileged. The OpenClaw Docker docs list every needed cap; follow them exactly.- Bridge networking breaks outbound calls. If agents time out on external API calls, the issue is almost always Docker DNS resolution. Set
dns: 8.8.8.8under the service config as a first diagnostic step. - Pin the image tag.
latestin production is how you discover breaking changes at the worst possible time.
Day-1 checklist
After any install path, do these five things before you consider the setup done:
- Run
openclaw doctor— validates API keys, model access, storage paths, and skill execution end-to-end. - Install one skill from the official registry that you’ll actually use (not a demo).
- Route logs to a persistent destination:
openclawlogs to stdout by default; pipe to a file or forward with Vector. - Set up nightly backups: config directory + storage directory to Backblaze B2 or S3.
- Wire Uptime Kuma or BetterStack (both free tier) to the
/healthendpoint so you get paged on downtime.
When to hire me instead
Skip this guide entirely if any of the following is true:
- Linux/server administration is unfamiliar territory and the steps above read like a foreign language
- Your business depends on getting this right without a weekend of trial-and-error
- You need a hardened security posture from day one — audit trail, key rotation, rollback playbook
- You want custom OpenClaw skills wired into your stack as part of the install
My done-for-you OpenClaw setup is a fixed fee, two business days, fit-or-refund. You send me access; I hand back a running instance with skills installed, logging configured, backups running, and a written handover doc.
Book a 30-minute discovery call if you want to talk through your setup before committing.
— Yoann